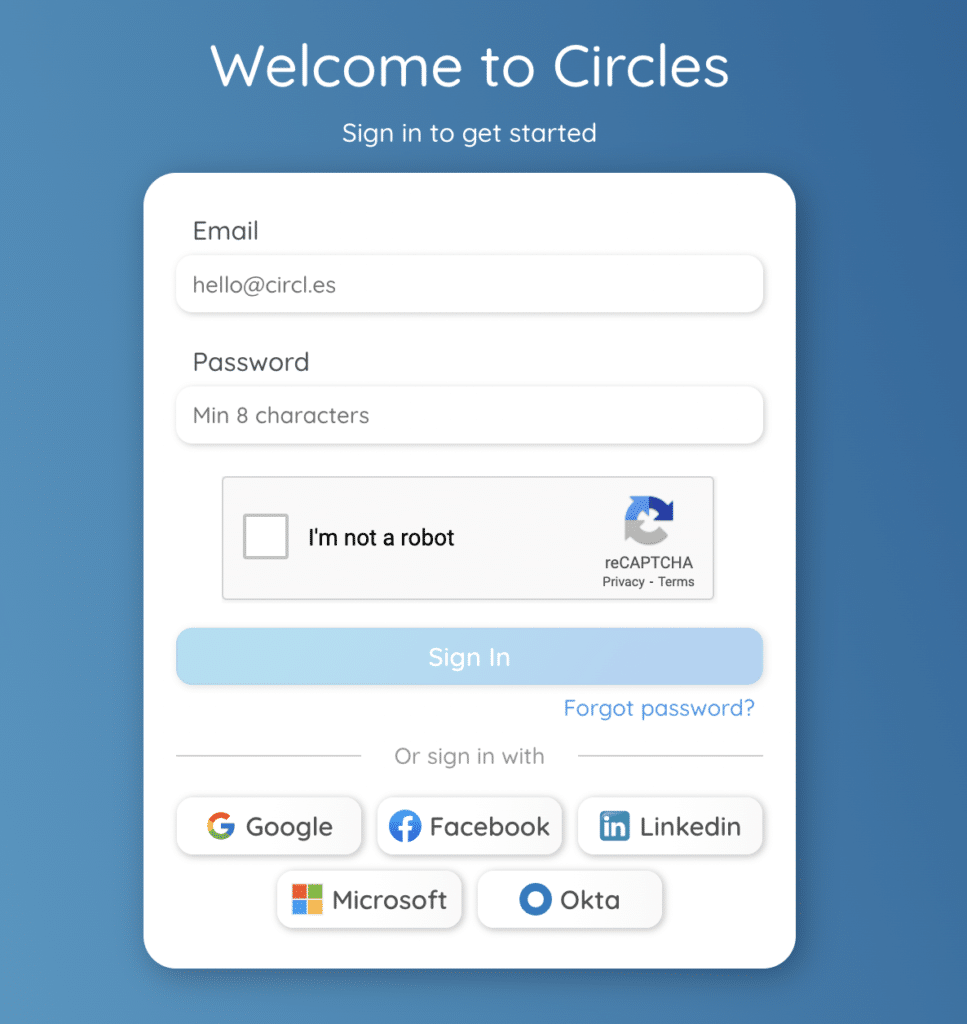
If you prefer to use an already-existing account to sign up and sign in to Circles, you can now do so. You have a choice of several accounts to choose from when signing up, which you’ll then be able to use each time you sign in. This guide will explain the steps to make that happen.
How to Sign Up
- The sign up process can be started at https://my.circl.es/signup. In this case, as you want to sign up with a different account, you don’t need to add your name and email address in the fields at the top.
- Instead, click on the account from the list below that you want to use.
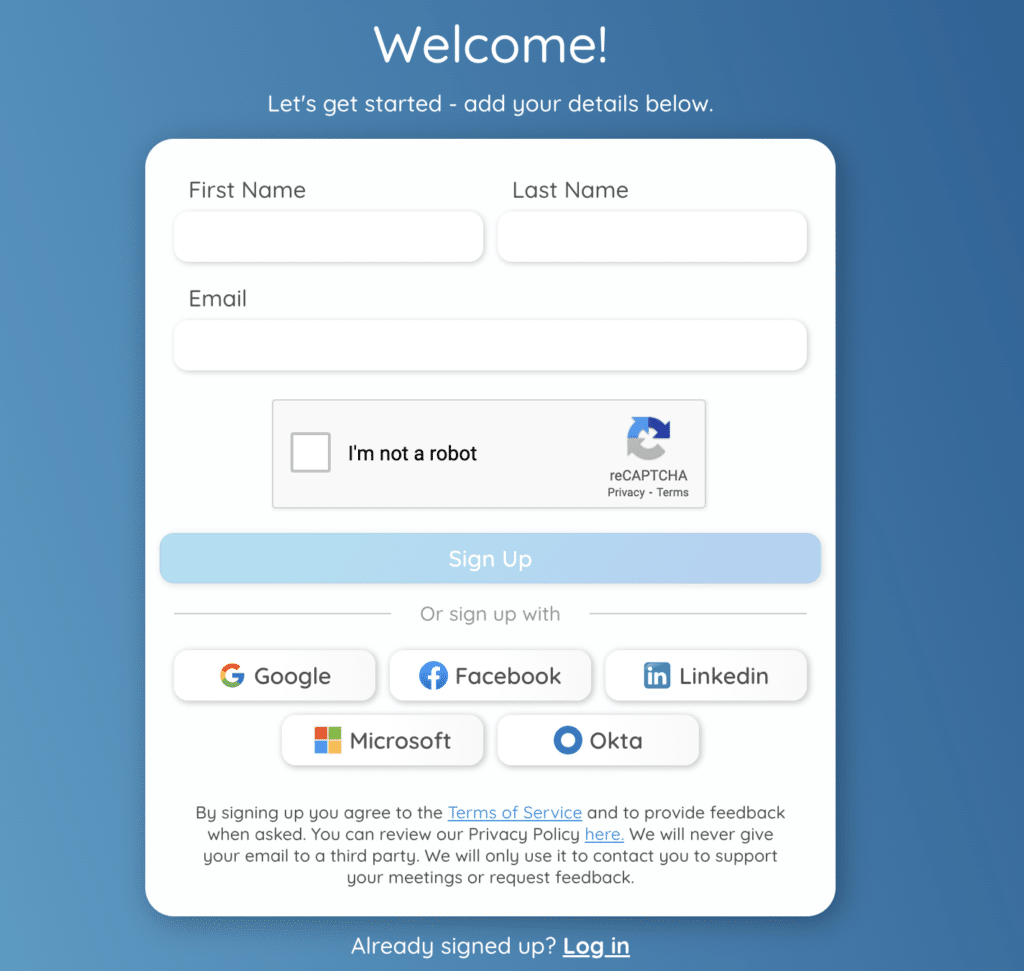
- You’ll then be asked to sign in to whichever account you have chosen, and you’ll need to give your permission for Circles to access this account.
- Once finished, you’ll be taken directly to your new circle on my.circl.es!
Signing In
- Any time you want to sign back in to my.circl.es, you’ll be presented with the same list of options at the bottom of the login page. Click the option that you signed up with, and enter your login details to access your my.circl.es account.