How Can We Help?
Create Your Own Agenda
At Circles, agendas run our sessions! With their easy and interactive design, their structure supports facilitation with minimal distractions.
1. Choosing Where to Create Your Agenda
There are two ways to create new agendas, either in the CircleSpace™️ or in the My.Circles dashboard. We’ll explain both methods below, and the tools you can use when creating.
Creating in My.Circles
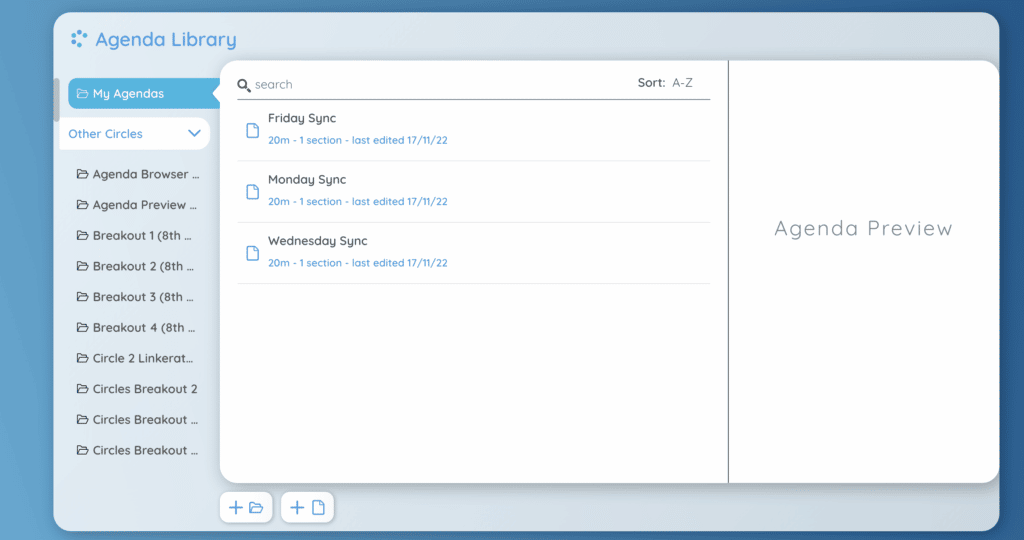
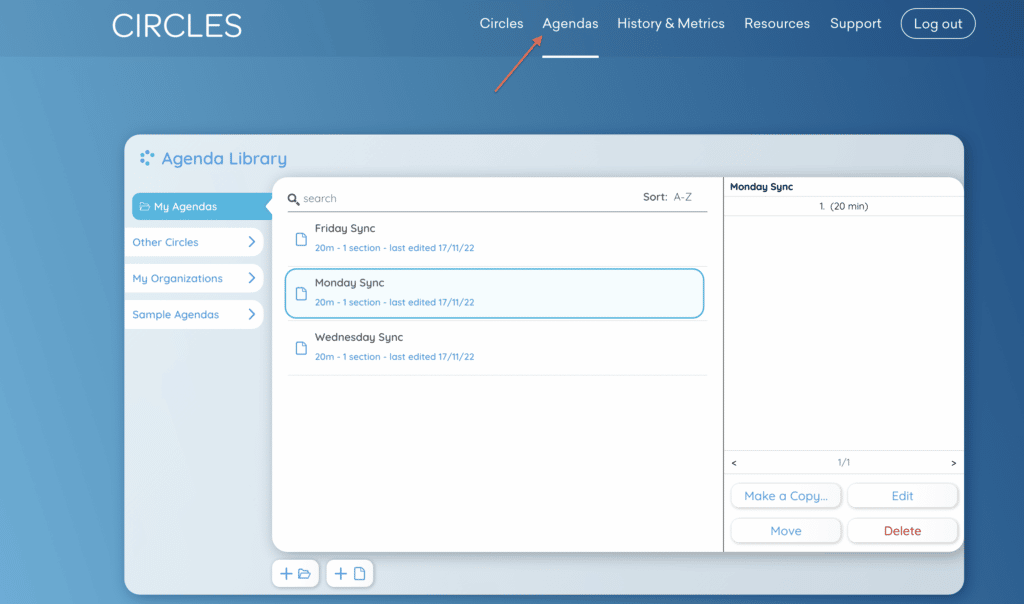
- Go to your My.Circles Dashboard and log in using your credentials. When you select the ‘Agendas‘ tab on the top of the page the Agenda Library will appear.
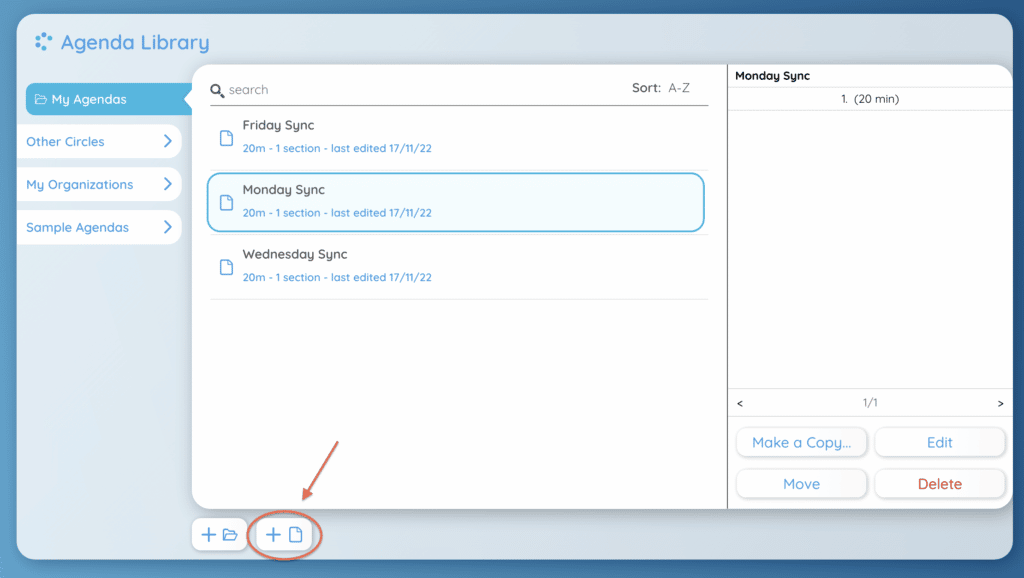
- Click the new agenda icon on the bottom of the library to begin a new agenda in whatever folder you’re presently in.
Creating in the CircleSpace™️
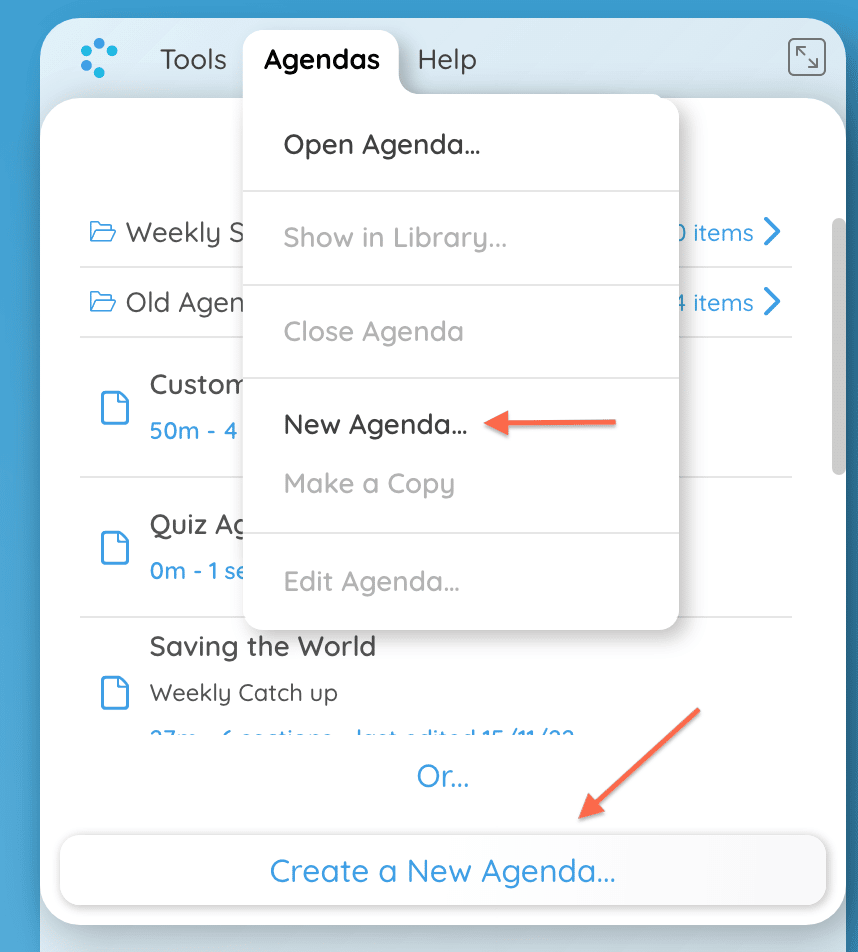
- In the agenda space on the right side of the space, you can either click ‘Create a New Agenda’ if there is no agenda open, or ‘New Agenda’ in the drop down menu accessed by clicking ‘Agendas’
2. Tools to Use When Creating Your Agenda:
Agenda Editor
Start right away! The Agenda Editor is where you can begin to start editing your agenda’s name, set the title of the first page, and allocate time to the first section of your agenda.
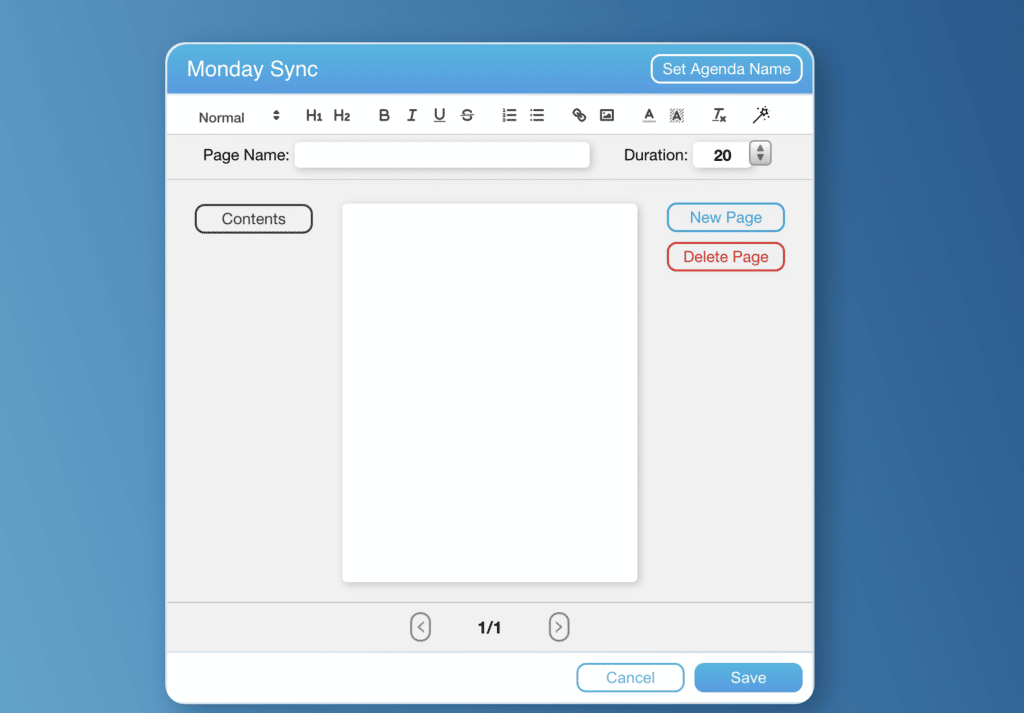
- Add a title to your current agenda page by selecting ‘Set Agenda Name‘
- Begin to type into the ‘Page Name‘ text box to add in your first title.
- Decide how long you’ll spend in this section by setting a duration in your progress bar.
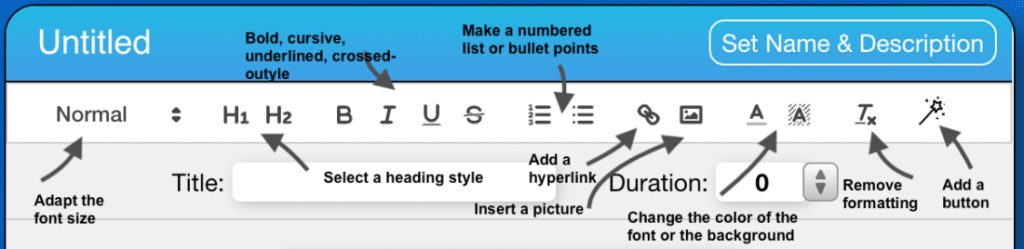
- Next, write the body of the text. You can use various useful functions:
- Adapt the font size
- Select a heading style (we recommend using H2 within the body)
- Write something in bold, cursive, underlined or strike-through
- Make a numbered list or bullet points
- Add a hyperlink
- Insert a picture (click on the image and insert the image URL)
- Change the color of the font or background
- Remove formatting
- Add a button
NOTE: Adding an image works best when you first paste it into a text document, adjust its size, then copy and paste it directly into the body of your agenda.
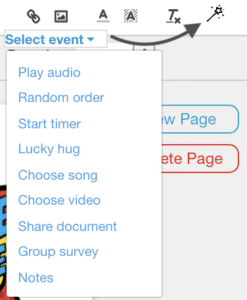
Add Buttons to Your Agenda Page
Some of the most beloved features of the CircleSpace are the agenda buttons. They make it very easy to run an agenda by simply clicking on them. To add a button to your agenda, click the magic wand symbol and select what kind of button you want to add.
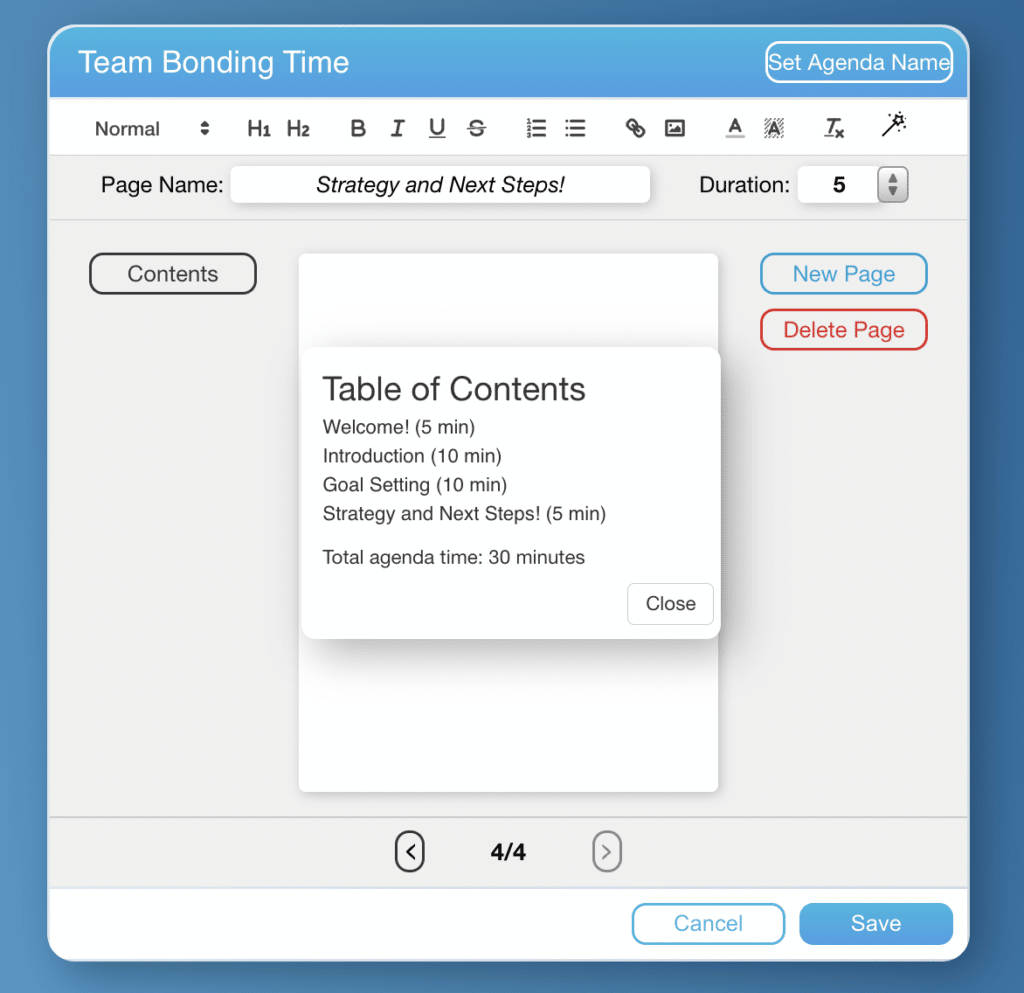
Agenda Table of Contents
To see an overview of your entire agenda, simply click ‘Contents’. A full overview of your agenda and assigned total time will pop up.
3. Saving The Finished Agenda
- When you are done creating your agenda, click on “Save” at the bottom of the page.
- After clicking ‘Save‘ you’ll be re-directed to the Agenda Library if you’re working from the My.Circles Dashboard. From here you’ll be able to see all the agendas in your Circle, browse other agendas from your organization, and also take a look at our Sample Agendas. You can easily access all options such as make a new agenda, make a copy, edit, or delete. Now, you are able to bring up your agenda in the CircleSpace™️.